“Unlocking the Beauty Vault: Unveiling the Makeup, Beauty, and Fitness Secrets of Greek Women”

I don’t know what it is about Greece, but everything there seems so beautiful and majestic!! I’ve never been there, but I’ve heard of many beautiful Greek women in Greek mythology and who on earth doesn’t know Helen of Sparta, who was one of the most beautiful women in the world.
Greek women are particularly known for their natural beauty! Be it her radiant, olive complexion or her excellent skin and perfectly shaped body – it’s worth knowing the Greek beauty secrets. But how do they do it? Put down your passport – you don’t have to go anywhere to find out. Here I bring you some of the wonderful ancient beauty secrets that will help you awaken your inner goddess!
Now let’s discuss some beauty secrets of Greek women that make them stand out beautifully with well-practiced makeup tricks.
Beauty and makeup secrets of Greek women

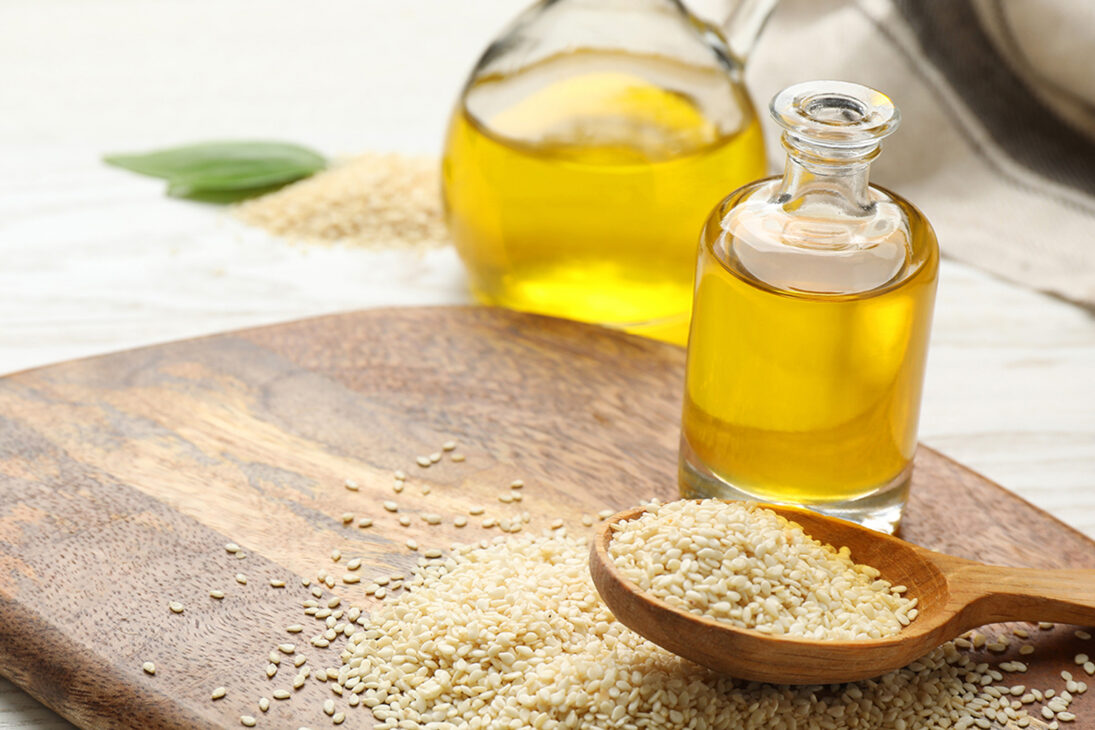
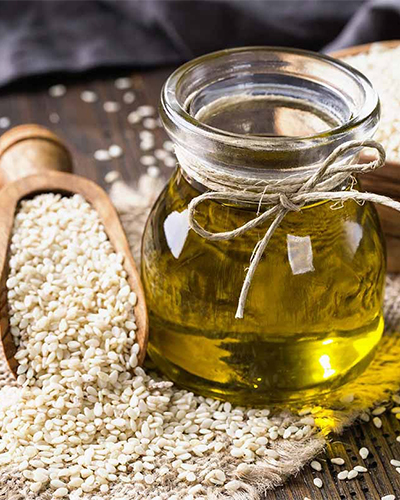
1. Use of Olive Oil:
It is said that the Greeks were the first to use olive oil to moisturize the skin. Olive oil is rich in antioxidants that help revitalize dry and cracked skin. It also speeds up the renewal process of the cells present in your skin.
2. Use of Sea Salt:
Because they are so close to the sea, sea salt is very easy for them to access. You use it to exfoliate your skin and enrich it with natural minerals.
3. Taking Hot Baths:
Hot baths are one of the greatest secrets of your natural beauty. They have heated bathrooms in bathhouses. This is very important for them because they believe that warm water opens the skin pores slightly. This helps get rid of all the toxins in a completely natural way.
4. Taking Milk Baths:
Although this is a rather expensive type of skin treatment, rich women in Greek civilization often prefer milk bath before special occasions. Nowadays, taking a milk bath is a rarity, but some women wash their face, neck and arms with milk. It softens the skin and makes it very soft and supple.

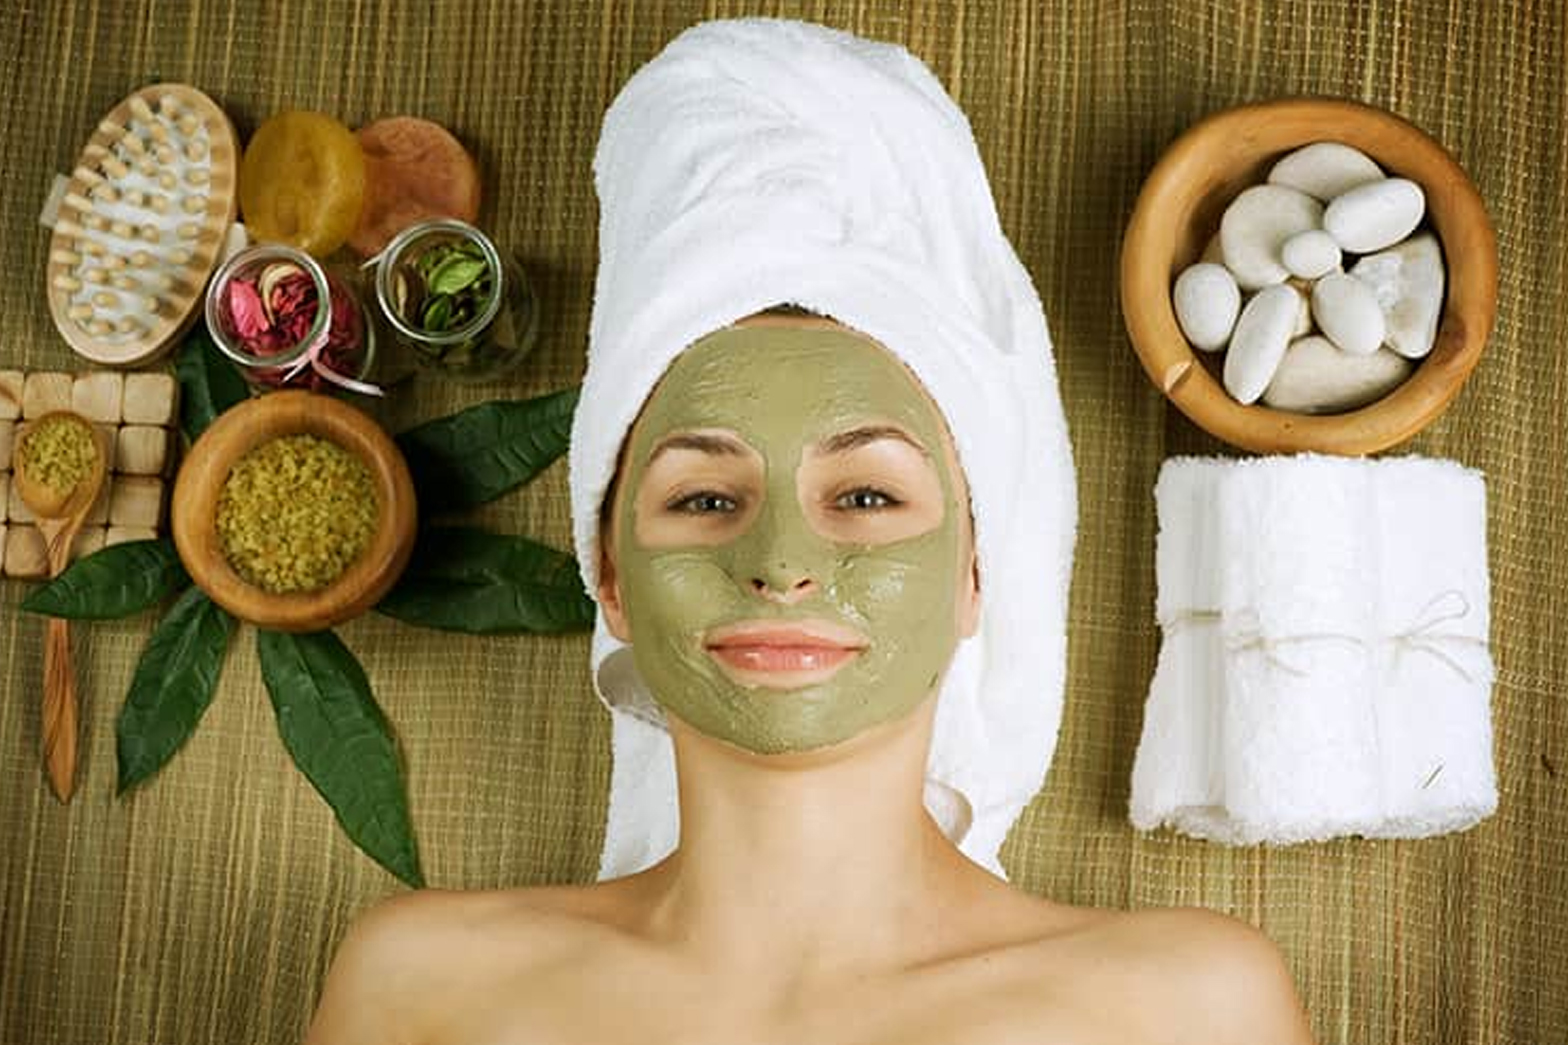
5. Face Masks and Body Scrubs with Honey:
Honey is a great beauty ingredient that the Greeks used to make face masks and body scrubs. It is said that we only inherited the use of honey as a beauty ingredient from the Greeks. Honey is good for the skin as it is anti-inflammatory and helps cleanse dead skin cells.
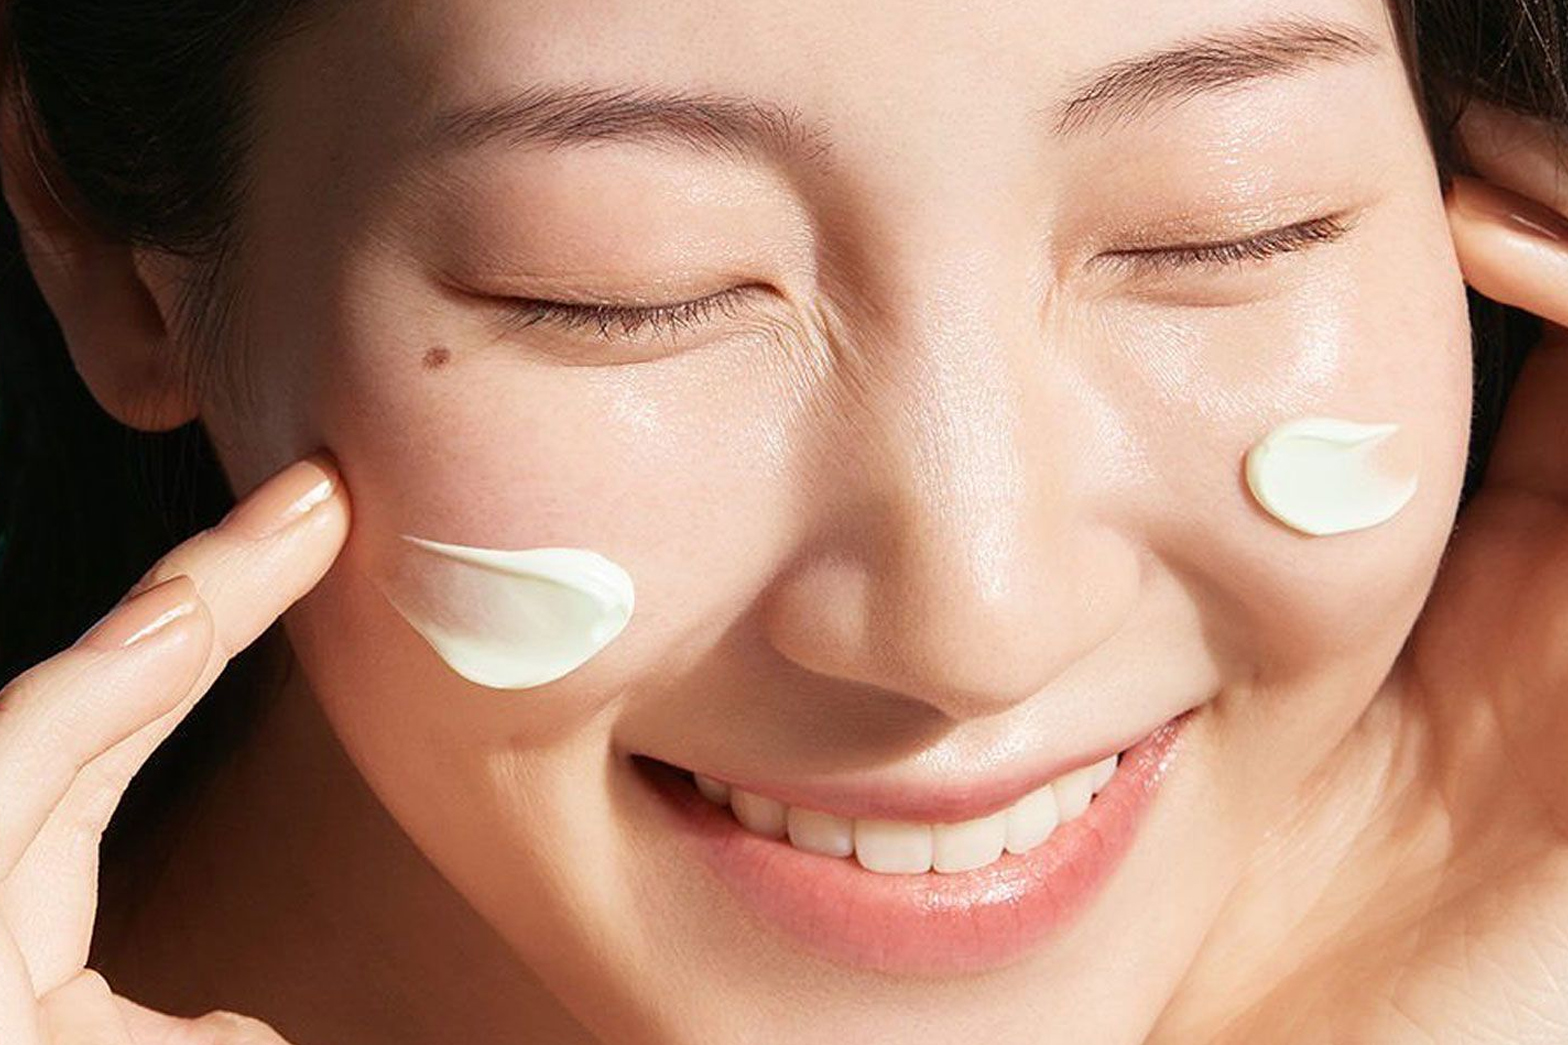
6. Use Less Makeup:
Greek women care more about taking care of their skin and making it naturally beautiful than applying tons of makeup to their skin every day. Also because there is sea weather there, the humidity causes sweating and the make-up no longer stays on. That’s why Greek women wear less or no makeup at all and try to beautify their skin naturally.
Now that we have discussed the coveted makeup and beauty tips of Greek women, I will also discuss some fitness and diet secrets of Greek women.
Fitness and Nutrition Secrets of Greek Women
- Greeks eat a Mediterranean diet. It is considered one of the healthiest diets for the skin. It contains plenty of omega-3 fatty acids that help keep skin glowing. Not only the skin, but it also ensures that you stay slim and in perfect shape.
- They follow the proper habit of eating three meals a day, the breakfast consisting mainly of small barley bread dipped in wine sauce. Lunch is also light but more filling, while dinner is the largest meal of the day.
- It is said that the ancient Greeks were obsessed with fitness. They walked a few kilometers every day after dinner to digest their food properly.
- Fruits like apples, pears, and figs are part of their daily routine. These fruits naturally keep your body fit and healthy
Aren’t these beauty and fitness secrets just wonderful? And of course, they can also be easily integrated into your everyday life. So now you know what you need to do to achieve that ethereal Greek beauty.
Share