Introduction
In today’s increasingly digital world, teaching children about money isn’t just sensible—it’s essential. That’s where Greenlight comes in: a financial technology platform that gives children and teens the tools they need to manage their money responsibly. With features like a debit card for kids, parental controls, savings goals, investment tools, and even cashback, Greenlight is redefining family financial education.
But does Greenlight deliver on its promises? Is Greenlight truly a smart investment in your child’s future or just another fintech trend? This blog post analyzes everything so you can decide if Greenlight is right for your family.
Brand Mission: Raising Financially Smart Kids
Greenlight was founded in 2014 with a clear mission:
To help parents raise their children financially smart by providing them with tools to teach, monitor, and reward good money habits.
The platform is based on three key pillars:
Education: Teaching children how to earn, save, spend, and invest wisely.
Empowerment: Giving children controlled access to money through hands-on experiences.
Safety: Parents receive comprehensive control and transparency so children learn safely and responsibly.
Greenlight believes financial literacy should start early—and its tools are designed to grow with your child from elementary school through high school.
Product Overview
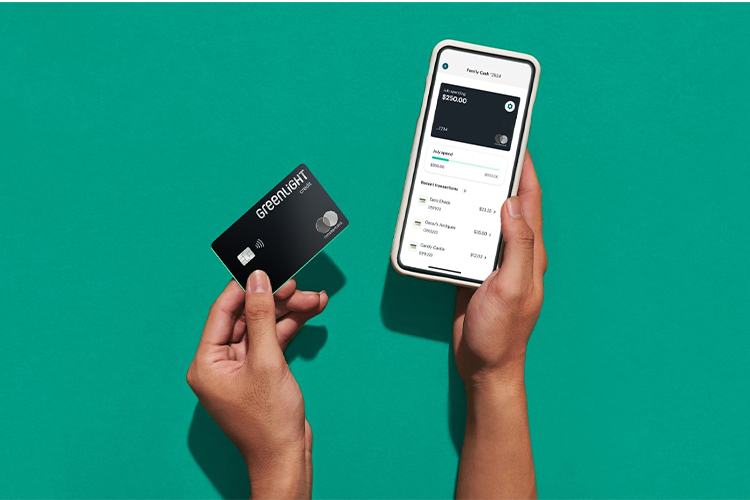
Greenlight offers several plans with numerous features. Each account includes a customizable debit card, a mobile app, and unique tools for saving, budgeting, and investing.
🔹 Greenlight Core
Best for simple budgeting.
Includes:
Debit card for kids
Accounts for spending, saving, and giving
Parental controls and real-time notifications
Level Up financial education game
$10,000 FDIC-insured deposit protection
Cost: $4.99/month for the whole family.
🔹 Greenlight + Invest
Perfect for families looking to get started with investing.
All Core features plus:
Kid-friendly stock market access (parent-approved transactions)
Real-time investment tracking
Learning tips for smart investing
Cost: $7.98/month
🔹 Greenlight Max
Complete solution with advanced security tools.
Includes all the above features plus:
Identity Theft Protection
Purchase Protection
Cell Phone Protection
1% Cashback on Greenlight Savings
Cost: $9.98/month
Highlights
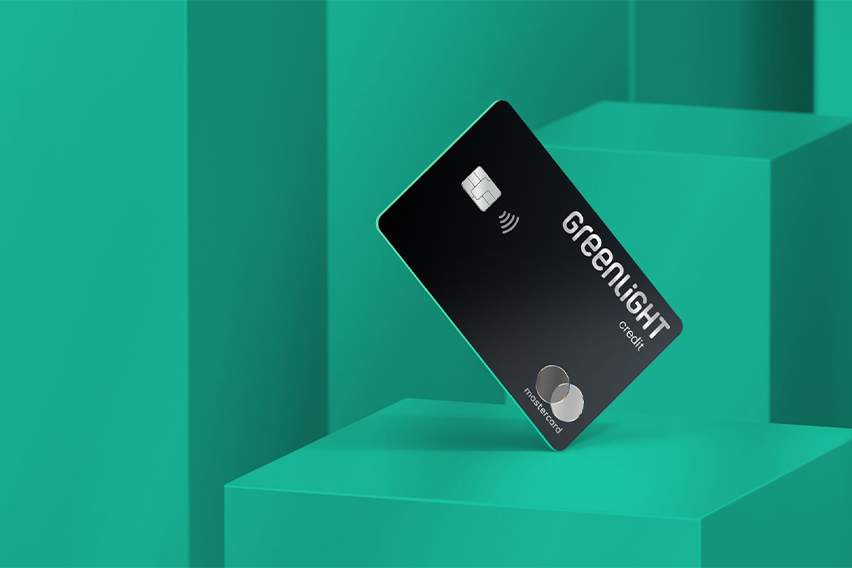
✅ Debit Card for Kids: Realistic financial experiences in a controlled environment.
✅ Parental Controls: Approve transactions, set spending limits, automate allowances.
✅ Financial Literacy Tools: The “Level Up” game teaches kids money management through fun challenges.
✅ Customizable Goals: Kids can set savings or donation goals and track their progress.
✅ Investment platform: Intuitive investment interface that allows parents and teens to purchase fractional shares.
✅ Security first: Data encryption, identity theft protection, and secure card lock features.
✅ One fee, full family access: All children in the household are covered by one account plan.
Pros and Cons
✅ Pros
All-in-one financial app for kids and teens
Real-time notifications for every transaction
Offers both educational content and practical tools
Promotes smart saving and responsible spending
Robust security features on all plans
Available for iOS and Android
Compatible with Apple Pay and Google Pay
Parents retain full control
Cashback and interest incentives on higher plans
❌ Cons
Monthly fee (even for the basic plan)
No bank branches
Limited investment options compared to traditional brokers
May be too demanding for very young children (under 6)
Some features are only available on premium plans
Only available in the US
Customer Reviews
Greenlight has received high praise from parents, educators, and fintech reviewers. The app has an average rating of 4.8 out of 5 stars on the App Store and is recognized for its ease of use, reliability, and educational value.
⭐️⭐️⭐️⭐️⭐️
“Greenlight has completely transformed our family. My son now understands the value of money and how to save—and I love having control over what he spends it on.” – Sarah L., mother
⭐️⭐️⭐️⭐️⭐️
“The investment platform is my favorite feature. It helped my daughter buy her first Apple and Disney shares—and she’s learning more than I did as a teenager.” – Jonathan T., father of two
⭐️⭐️⭐️⭐️
“It’s great, but I wish the cashback feature was available on the lower-priced plans.” – Megan H.
⭐️⭐️⭐️⭐️⭐️
“The learning content is engaging, and my kids actually want to use the app. A real win!” – Carlos D.
FAQs
❓ What age is Greenlight suitable for?
Greenlight is generally designed for children ages 6 to 18. However, parents can decide when their child is ready.
❓ Is a minimum balance required?
No, there is no minimum balance and no overdraft fees.
❓ Can my child use the card at ATMs?
Yes, but ATM use is under parental control, and sufficient funds must be available. Fees may apply depending on the device used.
❓ Is Greenlight secure?
Absolutely. Greenlight uses bank-grade encryption, real-time notifications, and a card lock feature. The company also works with FDIC-insured institutions to protect deposits.
❓ Can children invest real money?
Yes, but only with parental consent. Children can research and request trades, but parents must approve all investment decisions.
❓ What happens if I cancel?
You can cancel at any time. If you cancel within the one-month free trial, you won’t be charged.
Final Verdict: Is Greenlight Worth It?
If you’re a parent looking to teach your children real financial skills that will benefit them throughout their lives, Greenlight is an excellent tool. It offers the perfect balance between educational guidance and financial freedom, allowing children to learn in a safe, structured environment.
While there is a monthly fee, the added value far outweighs the cost, especially for families who need a single app for managing allowance, savings, spending, and even investing. Greenlight isn’t just a debit card—it’s the foundation for lifelong financial success.
👌 Ideal for:
Parents who want to teach their children money management early on
Families interested in controlling teen spending
Children who want to learn how to invest
Households with multiple children
Parents looking for digital tools with strong security features
⚠️ Not ideal for:
Families looking for a free solution
Children under 6 years old
Households outside the US
Overall rating: ★★★★★ (4.9/5)
Share