
Chicken Breast on a Pit Boss Pellet Grill — The Guide to Juicy Every Single Time
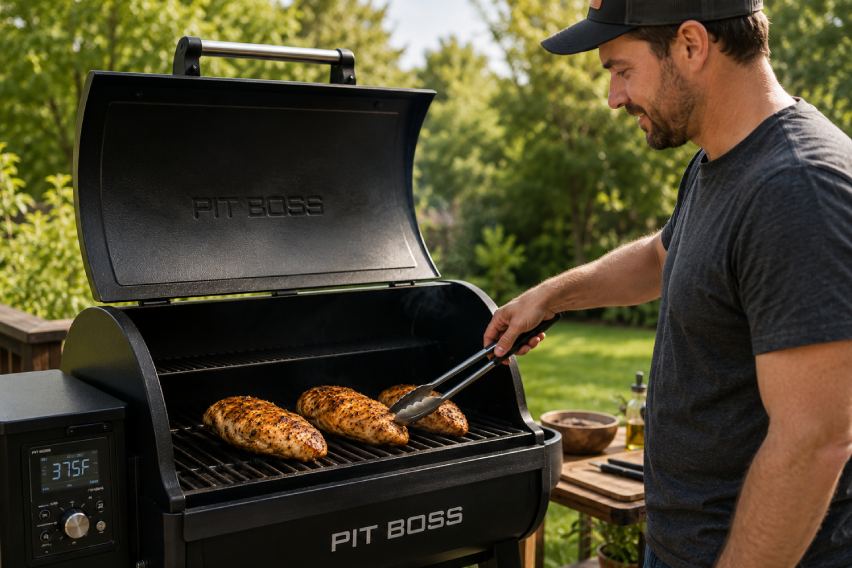
Chicken breast has a reputation problem and I get it. It’s the protein people default to when they’re trying to eat healthy, and because of that it gets cooked in a hurry, at the wrong temperature, with no preparation, and it comes out dry and flavorless and somehow gets blamed on the chicken rather than the technique. The chicken breast itself is fine. The cooking is usually the problem.
On a Pit Boss pellet grill, chicken breast can be something genuinely special — juicy with smoke flavor working all the way through, a slight char on the outside, and enough texture contrast to make it interesting rather than the protein you’re eating because you feel like you should. But it requires understanding a few things that most grilling guides skip over because they’re writing for people who are okay with mediocre chicken.
The Fundamental Problem with Chicken Breast
Chicken breast is lean, boneless, and completely unforgiving of overcooking. There’s no fat marbling inside the muscle to provide moisture as the temperature rises, and no bone to slow down the heat transfer. When chicken breast hits 165°F, the USDA says it’s done. When it hits 175°F, it’s dry. The window between done and too dry is about 10 degrees and can close in less than 5 minutes at high heat.
The solution is two-fold: prepare the chicken correctly before it goes on (brine), and cook it to the correct temperature while monitoring it constantly (thermometer).
Brining the Chicken Breast
This is the step that makes the biggest single difference to the end result. A brined chicken breast holds moisture through the cook in a way that unbrined chicken simply doesn’t.
Simple brine:
- 4 cups cold water
- 3 tablespoons kosher salt
- 1 tablespoon sugar
- Optional: garlic cloves, peppercorns, fresh thyme
Dissolve the salt and sugar in the water (you can use a cup of warm water to dissolve them and then add cold water to bring it to volume). Submerge the chicken breasts completely and refrigerate for at least 30 minutes. 1 to 2 hours is ideal. More than 4 hours and the texture starts to get mushy from the salt.
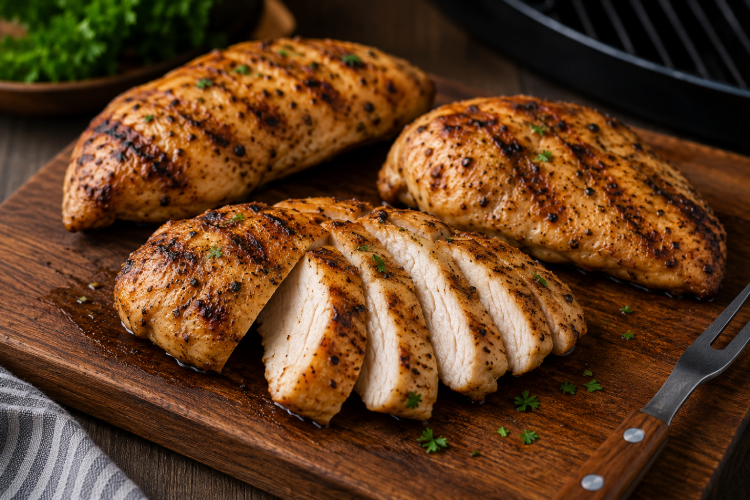
After brining, remove the chicken from the brine and pat completely dry with paper towels. Dry surface is important for getting any color or texture on the exterior.
If you don’t have time to brine: At minimum, season the chicken generously and let it sit at room temperature for 20 to 30 minutes before grilling. Cold chicken straight from the refrigerator onto the grill means the outside is cooking while the center is still catching up, which increases the risk of the exterior overcooking before the interior is done.
Getting the Chicken Breasts the Same Thickness
This is a step almost no home cook does and almost every good cook does. Chicken breasts taper from thick at one end to thin at the other. The thin end cooks twice as fast as the thick end. If you cook to the right temperature at the thick end, the thin end has been overcooked for 10 minutes. If you cook to the thick end’s timing, the thin end is dry and tough.
The fix is simple: pound the chicken breast to an even thickness using a meat mallet or rolling pin. Place each breast between two pieces of plastic wrap or in a zip-lock bag, and pound from the center outward until the entire breast is a consistent ¾ inch to 1 inch thick.
This is five minutes of work that produces dramatically more consistent results than any other single step besides brining.
Seasoning Options
Simple everyday seasoning:
- 1 teaspoon kosher salt
- ½ teaspoon black pepper
- ½ teaspoon garlic powder
- ½ teaspoon onion powder
- ½ teaspoon smoked paprika
- Drizzle of olive oil to help the seasoning stick and promote browning
Mix together and coat both sides of each chicken breast thoroughly. The olive oil also helps the exterior get some color on the grill rather than staying pale.
BBQ approach:
Start with the basic seasoning above and finish with a coat of your favorite barbecue sauce applied during the last 5 minutes of cooking. The sugar in BBQ sauce burns if applied too early, so brush it on at the end and let it caramelize rather than char.
Italian herb approach:
- Salt, pepper, garlic powder
- Dried oregano
- Dried basil
- Dried rosemary
- Lemon zest if you have it
All of these work. The pellet grill adds smoke flavor that works as a fifth seasoning regardless of what you put on the outside, so simple seasonings often produce the best results because they let the smoke contribute without fighting it.
Pellet Selection
Chicken breast is mild enough that it can handle a range of smoke woods without being overpowered.
Apple or cherry wood pellets are the most popular choice for chicken. The mild, slightly sweet smoke complements poultry and produces good color on the exterior. Apple is the safer, more neutral choice; cherry gives a slightly darker color and a fraction more smoke intensity.
Pecan pellets work beautifully with chicken — slightly nuttier smoke, a little more depth than apple without being heavy.
Hickory: Use carefully with chicken breast. Hickory is strong enough that a full cook of chicken breast in heavy hickory smoke can produce a result that tastes more like smoke than chicken. If you like hickory, mix it 50/50 with apple to moderate the intensity.
Cooking Methods on the Pit Boss
There are two approaches that work well for chicken breast on a Pit Boss, and which you choose depends on whether you prioritize maximum smoke flavor or a grilled exterior.
Method 1: Low and slow, then sear
This is the “reverse sear” approach for chicken breast.
Start at 225°F. Place the chicken breast on the grill and smoke until the internal temperature hits 145°F to 150°F. This takes approximately 45 minutes to an hour depending on the size of the breast. At this point the chicken has absorbed significant smoke flavor and is close to done but not there yet.
Then crank the Pit Boss to its highest temperature setting (typically 450°F to 500°F) and sear the chicken for 2 to 3 minutes per side to develop color and texture on the exterior. Pull when internal temperature hits 160°F to 165°F.
This method gives you the best of both approaches — real smoke flavor from the low temperature phase, and good exterior texture from the high heat sear.
Method 2: Medium-high and direct
Set the Pit Boss at 375°F to 400°F and cook the chicken directly on the grates. At this temperature, the chicken develops color on the exterior while the interior cooks to temperature in approximately 15 to 20 minutes.
This method produces less smoke flavor than the reverse sear approach but takes half the time and still produces good results — the pellet grill ambient smoke during any cook contributes flavor even at higher temperatures.
Temperature Monitoring
Get a reliable instant-read thermometer and use it without apology. Cooking chicken breast without temperature monitoring is how you end up with dry chicken breast and a burned reputation for grilling.
Target internal temperature: 165°F at the thickest part of the breast. This is the USDA safe temperature. If you want to be more precise and are using a reliable thermometer, you can pull at 160°F — carryover cooking during the 5-minute rest will bring it to 165°F.
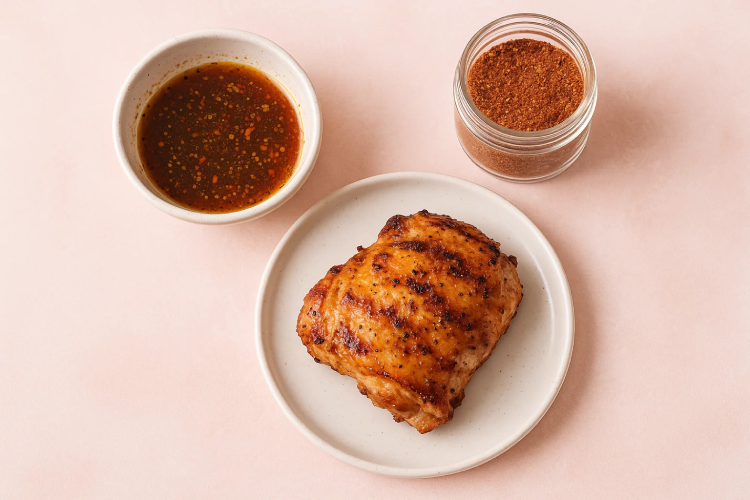
Insert the thermometer into the thickest part of the breast, parallel to the surface rather than straight down, to get a reading from the center of the meat rather than the underside. Keep the probe tip away from the grill grates or it’ll read the grate temperature rather than the meat temperature.
Resting
Chicken breast needs a rest of 3 to 5 minutes before cutting. This is less critical than with large cuts like brisket or turkey, but it’s still worthwhile — the juices redistribute during rest rather than running out onto the cutting board when you cut in immediately.
Tent the chicken loosely with foil while it rests. Tight foiling traps steam and softens any crust that formed on the exterior.
Serving
Slice against the grain of the chicken breast for the most tender result. The grain runs lengthwise through the breast; cutting perpendicular to this produces shorter, more tender mouthfuls.
A squeeze of fresh lemon over sliced smoked chicken breast makes the smoke flavor pop in a way that’s surprising if you’ve never tried it. The acid brightens everything.
Smoked chicken breast works in a dozen applications beyond serving whole — sliced over salads, chopped for tacos, folded into pasta, used in sandwiches. The smoke flavor carries through however you use it.
Troubleshooting
Chicken is dry: Almost always overcooked. Invest in a good thermometer and start checking at 155°F internal.
No color on the exterior: Skin or surface was wet before grilling. Pat completely dry and add a thin coat of olive oil or avocado oil before seasoning.
Rubbery texture: Could be undercooked, or the chicken went straight from the fridge to the grill. Let it come to room temperature before cooking.
No smoke flavor: Cook temperature was too high. Smoke absorption is most efficient at lower temperatures — cook at 225°F for at least the first half of the cook.
Quick Reference
- Brine time: 30 minutes minimum, 2 hours ideal
- Pound to: ¾ to 1 inch even thickness
- Pellets: Apple, cherry, or pecan
- Method 1: 225°F to 145°F, then sear at 450°F to 165°F
- Method 2: 375°F to 400°F directly, 15 to 20 minutes
- Done temperature: 165°F internal
- Rest time: 3 to 5 minutes